Gypsum board, usually called drywall, lines the walls and ceilings of most modern buildings. It is fast to install, fire resistant and economical, but it has one clear weakness: water. A plumbing leak, a roof failure or a flood can turn a sound wall into a soft, stained and mold-prone surface within days.
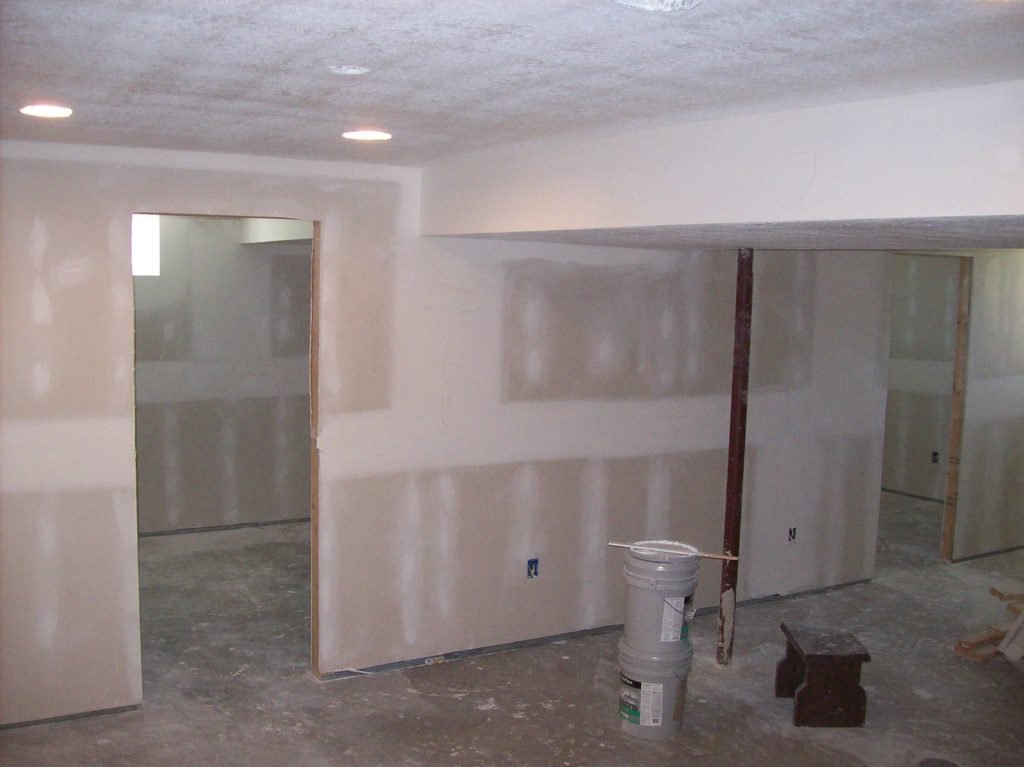
Not every wet board has to be thrown away, and not every dry-looking board is safe to keep. This guide explains how to assess water-damaged drywall, when replacement is required, and how the repair is carried out.
What Water Does to Gypsum Board
A drywall panel is a gypsum core wrapped in paper facers. Water affects both parts.
- The core softens. Gypsum loses strength when saturated, so a wet board can sag, crumble or pull away from its fasteners.
- The paper feeds mold. The facers are organic. If they stay damp, mold can begin to grow on the surface and inside the wall cavity.
- Fasteners corrode. Screws and nails rust, which weakens the attachment and stains the finish.
- The finish fails. Joint compound softens, tape lifts and paint blisters or discolors.
Step 1: Identify the Water Source
The first question is where the water came from, because the source decides most of what follows.
- Clean water. A supply-line leak or rainwater that entered through a roof or window. Board wetted by clean water can sometimes be dried and kept.
- Contaminated water. Floodwater, sewage backups and water that has passed through soil or drains. The Gypsum Association states that gypsum board exposed to sewage or flood water must be replaced. Cleaning the surface is not enough, because the core is porous.
In every case, the source must be found and stopped before any repair begins.
Step 2: Check the Time
Time is the second factor. Industry guidance treats 24 to 48 hours as the usual window in which wet board must be dried before mold growth becomes likely, depending on temperature and humidity. A leak caught and dried the same day is very different from a slow leak that has soaked a wall for weeks.
Step 3: Inspect the Board
Examine the surface and, where possible, the hidden side.
- Sagging or bulging, especially on ceilings.
- Soft or crumbly areas when pressed with a thumb.
- Paper that has blistered or delaminated from the core.
- Rust spots at fasteners.
- Visible mold or a musty odor.
- Swollen joints or lifted tape.
A moisture meter is useful, but read it as a comparison: check the affected area against a dry section of the same wall. Remove a baseboard or cut a small inspection hole to look inside the cavity, because insulation holds water against the back of the board long after the face feels dry.
Replace or Keep: The Decision Rules
Replace the board if:
- it was exposed to floodwater or sewage;
- it shows mold, sagging, softness or delamination;
- its fasteners have rusted;
- it stayed wet for longer than about two days;
- the insulation behind it is wet.
Keeping the board may be acceptable if:
- the water was clean and the source has been eliminated;
- the board is firm, flat and securely fastened;
- it was dried quickly and shows no mold.
When there is doubt, replace it. The material is inexpensive compared with the cost of trapped moisture.
How Much to Remove
For flooding, the guidance published by FEMA and the American Red Cross is simple. If the water reached four feet or higher, take down all the wallboard. If it was lower, remove the lower four feet and fill the gap with full panels laid sideways.
For a leak, cut back until the board is dry, firm and clean on both faces. Make the cuts along the centers of studs or joists so the new piece has solid backing on every edge. Remove all wet insulation.
The Repair Procedure
Contractors who specialize in water damage drywall repair follow the same sequence on every job.
- Make the area safe. Switch off electrical circuits in the affected wall. Support or carefully drain a ceiling that is holding water.
- Remove damaged material. Take out the board, the wet insulation and any corroded fasteners.
- Dry the cavity. Use air movers and a dehumidifier. Do not close the wall until the framing is dry. Lumber graded as dry is at or under 19 percent moisture content, and framing should read close to unaffected members in the same building.
- Treat the framing. Clean any surface mold from studs and plates and let them dry again.
- Install new board. Use panels of the same thickness. Choose moisture-resistant or mold-resistant board in kitchens, bathrooms and basements.
- Finish the joints. Tape, apply three coats of compound, and sand between coats.
- Prime and paint. Seal any remaining stain with a stain-blocking primer, then match the texture and repaint the full wall or ceiling plane.
Preventing a Repeat
- Repair the cause, not only the damage: roofing, flashing, plumbing joints or site drainage.
- Keep the bottom edge of wall board slightly above the floor so it cannot wick water.
- Ventilate bathrooms, kitchens and laundry rooms to the outside.
- Inspect ceilings below bathrooms and roofs after severe weather.
Conclusion
Water-damaged drywall is assessed with three questions: what kind of water, for how long, and what condition the board is in now. Contaminated, moldy or softened board is replaced. Clean, firm board that dried quickly can often stay. In both cases the cavity must be dry before the wall is closed, because a repair that traps moisture will fail again from the inside.