On a remote project, the nearest commercial testing lab can be hours away. Every sample that waits for transport adds delay, and every delay holds up a decision on compaction, subgrade, or aggregate acceptance. A small site lab gives the team answers the same day.
A site lab does not need to be large. It needs the right equipment, a stable place to run it, and the supplies that keep results repeatable. This checklist covers what to plan before the first sample comes in from the field.
Decide Which Tests the Lab Must Run
Start from the specification, not from a catalog. Read the project’s quality plan and list every test that must be done on site or turned around quickly. For most earthworks and pavement jobs, the core list is short:
- Moisture content of soil and aggregate
- Sieve analysis for gradation
- Atterberg limits for fine-grained soils
- Compaction tests to set the target density
- Basic chemical checks such as pH, conductivity, chlorides, or sulfates where the spec calls for them
Anything not on that list can go to an outside lab. Buying equipment for tests you will not run only fills the room and the budget.
Choose the Space and Build the Benches
Location and Layout
A converted shipping container, a site cabin, or a rented room in a nearby building can all work. Pick a spot away from haul roads and batching dust, with room to separate wet work, dry work, and sample storage. Samples arriving muddy should never cross the same bench as a balance.
Benches and Flooring
Benches need to be level and stable. Vibration from a sieve shaker or a passing truck will shift balance readings. Use a heavy, flat work surface for the balance and keep it separate from the shaker. A washable floor and a drain or sump make cleanup far easier.
Core Equipment to Buy First
Ovens
A thermostatically controlled drying oven is the workhorse of the lab. Moisture content methods typically call for drying at 110 degrees Celsius, so check that the oven holds that temperature evenly. Buy one large enough to handle a full day of samples without overloading the shelves.
Scales and Balances
Match the balance to the test. Coarse aggregate needs a large-capacity scale, while fine soil samples need a balance that reads to a small fraction of a gram. Two balances usually cover everything. Keep calibration weights on site and log every check.
Sieves, Shakers, and Hand Tools
Order a full set of sieves for the gradations in your spec, plus pans and lids. A mechanical shaker saves time and gives more repeatable results than shaking by hand. Add sample splitters, trowels, spatulas, mixing bowls, and containers with lids. Compaction molds and rammers, liquid limit devices, and plastic limit tools come next if those tests are on your list.
The Utilities People Forget
Most delays in a new site lab come from the building, not the instruments. Check each of these before the equipment arrives:
- Power that is stable enough for balances and ovens, with a surge protector or voltage stabilizer and a plan for generator backup
- Ventilation or an extractor fan for oven exhaust and any chemical work
- Temperature control so the room stays within a steady range, since heat swings affect balances and sample storage
- A water supply and drainage for washing samples and equipment
- Good lighting over every bench
Water Quality Matters More Than It Looks
Site water is fine for washing aggregate and cleaning molds. It is a poor choice for the chemical side of the lab. Dissolved minerals in tap or borehole water can change conductivity readings, throw off chloride and sulfate results, and leave residue on glassware. Plan for DI water and equipment in the first lab order, since chemical tests on soil and aggregate samples depend on clean rinse and dilution water.
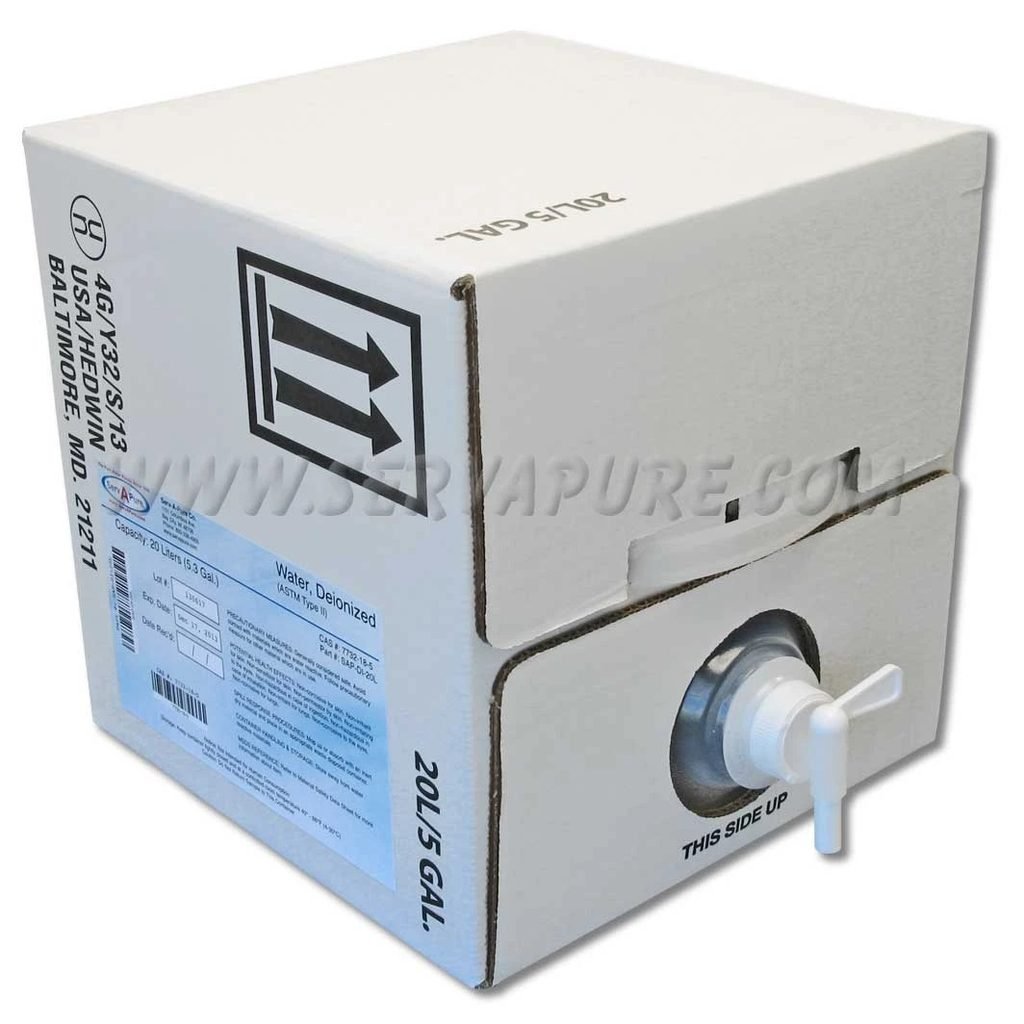
The same water is used to prepare reagent solutions and to make the soil extracts for pH and conductivity checks. Ordering it later usually means a delay on the first chemical test, and results from the wrong water are hard to defend afterward.
Reagents, Consumables, and Safety
Reagents and consumables run out at the worst time on a remote site, so order with a buffer and track usage. A starter stock list should cover:
- Reagents and standard solutions for each chemical test on your list, with expiry dates noted
- pH and conductivity calibration solutions
- Filter paper, sample bags, labels, and marker pens
- Gloves, safety glasses, and dust masks
- Spill kit and containers for chemical waste
Store chemicals in a locked, ventilated cabinet away from the oven. Keep safety data sheets in the lab, and agree on how waste will be removed before anyone mixes a solution.
Records, Calibration, and Sample Handling
A lab is only as credible as its records. Label every sample with its source, depth, date, and sampler. Log each test with the method, the technician, and the equipment used. Calibrate balances, ovens, and thermometers on a set schedule, and file the certificates where an auditor or client engineer can find them.
Train at least two people on each core test. When one technician leaves the project or falls sick, the lab should keep working.
Before the First Sample Arrives
Run a dry test day. Set up the benches, power up every instrument, and run a known sample through each method on your list. Check that the oven holds temperature, the balances settle without drift, and the water and drainage work the way you planned. Problems found on a practice day cost an hour. Problems found with a live sample on the bench cost a day.
A site lab that is planned around the spec, the building, and the supplies will pay for itself in faster decisions and fewer retests. The equipment is the easy part to order. The utilities and consumables are what keep it running.