Setting up your first chicken coop is exciting, but it’s also surprisingly easy to get wrong. Many first-time owners make avoidable mistakes that lead to stressed birds, rising costs, and endless frustration. The good news? Most of these errors are completely preventable with the right knowledge upfront. This guide breaks down the biggest chicken coop setup mistakes so you can build a safe, functional home for your flock from day one. Whether you have three hens or thirty, getting these fundamentals right makes all the difference in the long run.
1. Building a Coop That’s Too Small for Your Flock
One of the most common mistakes first-time chicken owners make is underestimating how much space their birds actually need. A cramped coop leads to stress, aggressive behavior, disease, and lower egg production. Before you build or buy, understand the space requirements that keep chickens healthy.
How Much Space Do Chickens Really Need?
A general rule of thumb is at least 4 square feet of interior space per chicken inside the coop, plus a minimum of 10 square feet per bird in the outdoor run. For larger breeds like Rhode Island Reds or Buff Orpingtons, you will want to go even bigger. Tight quarters force chickens to compete for food, water, and rest, which creates a stressful environment that directly affects their health.
Why First-Timers Always Undercount Their Flock
Here is the truth: most people start with four chickens and end up with twelve. It happens more often than you would think. The temptation to add more birds grows quickly, especially once you see how enjoyable backyard chickens can be. Build for the flock you expect to have in two years, not the one you have today. Extra space never hurts, but too little space always does.
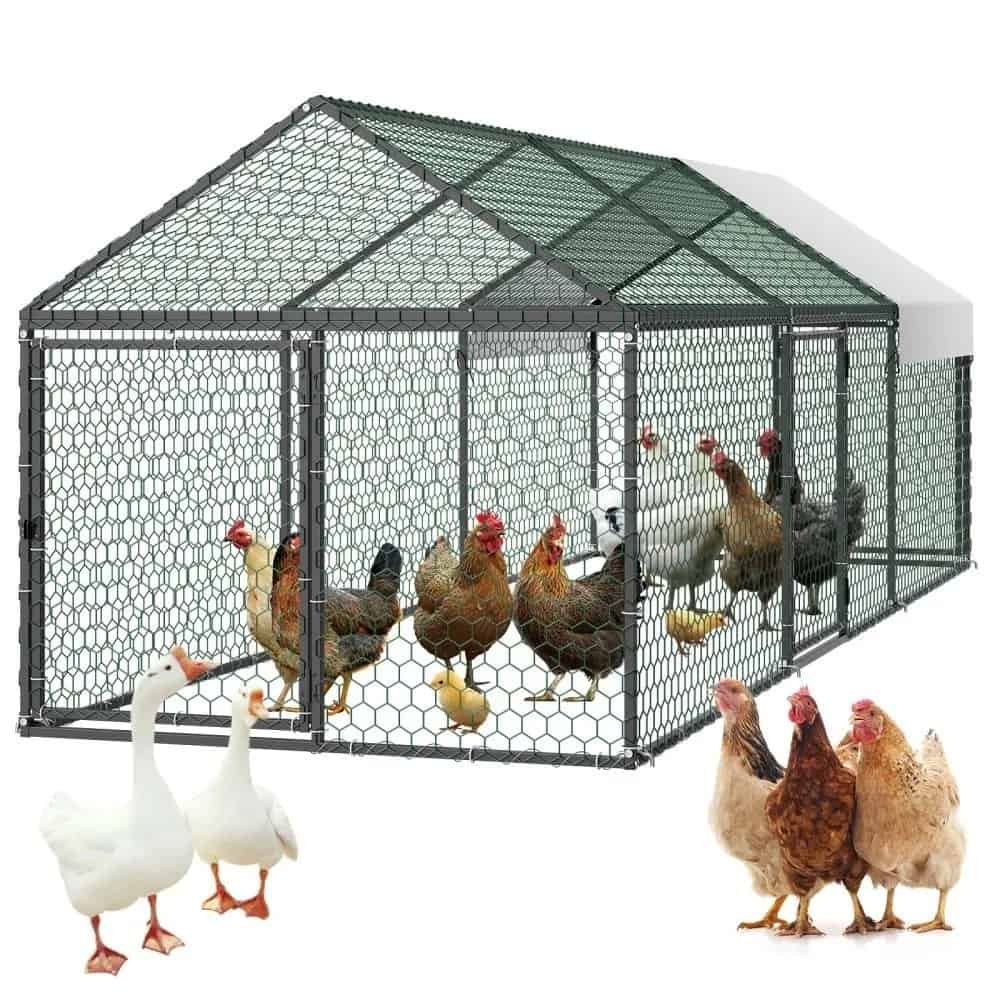
The Case for a Suitable Large Metal Chicken Coop
If you want a structure that offers durability, space, and long-term value, a suitable large metal chicken coop is worth serious consideration. Metal coops resist rot, repel pests more effectively than wood, and hold up through harsh weather conditions. They are also easier to scale up in size, so you can accommodate a growing flock without rebuilding from scratch. For first-time owners who want a low-maintenance option that lasts, metal is a practical and smart choice.
2. Underestimating the Importance of Proper Ventilation
Poor ventilation is one of the most underrated problems in backyard chicken coops. Many first-time owners assume that keeping a coop warm and sealed is the right move, especially in winter. In reality, a poorly ventilated coop creates a buildup of ammonia, moisture, and harmful bacteria that can make your flock seriously ill.
What Happens Without Adequate Airflow
Without proper airflow, ammonia from chicken droppings accumulates quickly. Even at low concentrations, ammonia irritates the respiratory tract and weakens a chicken’s immune system. Excess moisture from breath and droppings also promotes the growth of mold and bacteria on surfaces, feeders, and bedding. These conditions make respiratory disease far more likely and far harder to treat once it sets in.
How to Ventilate a Coop Correctly
Good ventilation does not mean drafts blowing directly on your chickens at night. Instead, place vents high on the walls or near the roofline so that fresh air circulates above the birds. Cross-ventilation, where air enters from one side and exits from another, is particularly effective. Adjust vent openings seasonally. In summer, open them fully: in winter, keep them partially open to maintain airflow without chilling the flock.
Signs Your Coop Has a Ventilation Problem
You can spot ventilation issues before they become a serious health problem. Look for a strong ammonia smell as soon as you open the coop door. Check for condensation on walls or windows in the morning. Notice whether your chickens seem lethargic or show signs of respiratory distress, such as wheezing or discharge from the nostrils. These are clear signals that your coop needs better airflow immediately.
3. Ignoring Predator-Proofing From the Very Start
Predators are a constant threat to backyard chickens, and the mistakes made during coop construction are often what allow them access. Foxes, raccoons, weasels, hawks, and even neighborhood dogs will test the limits of your setup. Predator-proofing is not an afterthought: it needs to be built into your coop from the first nail.
Common Entry Points Predators Exploit
Predators are remarkably clever. Raccoons can open simple latches. Weasels squeeze through gaps as small as one inch. Rats dig under coop walls and steal eggs or attack small birds. The most common entry points include flimsy door latches, gaps around windows, thin wire mesh with large openings, and unprotected floors. Each of these vulnerabilities needs to be addressed before your chickens move in, not after a predator already strikes.
Materials That Actually Keep Predators Out
Standard chicken wire keeps chickens in but does very little to keep predators out. Hardware cloth with a minimum of half-inch openings is far more effective and should be used on all windows, vents, and run walls. Bury the hardware cloth at least 12 inches underground around the perimeter of the run to stop diggers. Use heavy-duty, two-step latches on all doors. These small upgrades make a large difference in the security of your setup.
Why Skipping This Step Leads to Devastating Losses
Predator attacks rarely take just one bird. A single successful breach can result in the loss of your entire flock in one night. Beyond the emotional toll, replacing chickens is expensive and time-consuming. The cost of proper predator-proofing materials upfront is a fraction of what you would spend recovering from an attack. Take this step seriously from the start, and you protect both your flock and your investment.
4. Choosing the Wrong Location for the Coop
Location matters far more than most first-time owners realize. Place the coop in the wrong spot, and you will deal with flooding, poor drainage, excessive heat, or unhappy neighbors. The placement decision affects everything from air quality to disease risk.
Drainage and Sun Exposure Considerations
Avoid low-lying areas where rainwater collects. Standing water around a coop turns bedding into a wet, bacteria-filled mess and makes it nearly impossible to keep the interior dry and clean. Look for a slightly elevated spot with good natural drainage. Plus, consider sun exposure. A coop that receives morning sun dries out overnight moisture quickly. But, afternoon shade is equally valuable in summer to prevent heat stress in your flock.
Proximity to Your Home and Water Source
Place the coop close enough to your home that daily care is convenient, but far enough away that noise and odor do not become a problem. A 30 to 50-foot distance works well for most backyard setups. Also, consider water access. You will refill waterers frequently, so a coop that requires a long hose run or multiple trips with buckets adds unnecessary labor. Proximity to a water spigot saves time every single day.
Noise, Zoning, and Neighbor Relations
Before you set up the coop in your backyard, check local zoning regulations. Many municipalities have rules about how close a coop can be to a property line or neighboring structures. Beyond legality, a coop placed right at the fence line can create friction with neighbors due to smell and noise. A thoughtful placement respects both local rules and the people around you, which helps you avoid conflicts before they start.
5. Skipping Proper Roosting Bars and Nesting Box Setup
Chickens have specific needs at rest and at lay, and a coop that ignores those needs creates behavioral problems fast. Roosting bars and nesting boxes are not optional accessories: they are fundamental to your flock’s well-being and egg production.
Roosting Bar Height, Spacing, and Material
Chickens instinctively roost off the ground at night. Without proper roosting bars, they will crowd on the floor, which increases their exposure to droppings and parasites. Bars should sit at least 18 inches off the ground and be spaced 12 inches apart. Use a flat or rounded wooden bar about 2 inches wide, which allows chickens to grip comfortably without straining their feet. Avoid plastic or metal bars, as these cause discomfort and can contribute to foot problems over time.
Getting Nesting Box Numbers Right
A common mistake is providing too few nesting boxes. The standard recommendation is one box for every four to five hens. If you undercount, hens will compete for boxes, lay eggs on the floor, or delay laying entirely. Place boxes slightly lower than the roosting bars so that chickens do not try to sleep in them. Add a few inches of soft bedding like straw or wood shavings to encourage consistent use and protect eggs from cracking.
Why Chickens Ignore Poorly Designed Setups
Chickens are creatures of habit, but they are also selective. A nesting box placed in a high-traffic, noisy, or brightly lit area will often go unused. Hens prefer dark, quiet, and slightly enclosed spaces to lay. Similarly, a roosting bar that is too thin, too slippery, or placed at an awkward angle will be avoided in favor of a corner or the floor. Good design is not complicated, but it does require attention to how chickens naturally behave.
Conclusion
Avoiding these chicken coop setup mistakes puts you well ahead of most first-time owners. From space and ventilation to predator-proofing and smart location choices, each decision you make upfront shapes how well your flock thrives. Take the time to plan carefully, build with purpose, and your chickens will reward you with healthy, consistent production for years to come. A well-designed coop is not complicated: it just requires the right information before you start.